Learn how to set up print sales for your clients - from choosing a photo lab, to setting prices, to fulfilling orders.
How does selling prints work?
Photonesto allows you to sell professional photo prints directly from your galleries. You have two fulfilment modes to choose from:
Mode 1: Fulfilment through a photo lab
The system is integrated with professional photo labs:
No need to print yourself - after the customer pays, you create a print job and send it to the lab
The customer places an order, you confirm payment - once you receive payment, you confirm it in the panel with a single click
You set the prices - you configure pricing independently from the lab's prices
Mode 2: Self fulfilment
If you have your own printer or work with a local print shop, you can fulfil orders yourself:
Full control - you print and ship the prints yourself
Flexibility - you can offer non-standard formats and finishes
Higher margins - all the profit stays with you
Personal touch - you can include personalised extras in the package
Tip: You can use both modes at the same time - you choose the fulfilment method separately for each product in the pricing table.
Available formats and paper types
Print formats
The system supports 21 standard photo print formats:
Small formats
9×13 cm
10×15 cm
13×13 cm
13×18 cm
13×19 cm
Medium formats
15×15 cm
15×20 cm
15×21 cm
15×23 cm
15×30 cm
18×24 cm
Large formats
20×20 cm
20×25 cm
20×30 cm
21×30 cm (A4)
30×30 cm
30×40 cm
30×45 cm
30×60 cm
30×80 cm
30×90 cm
Photo paper types
Each format can be printed on different types of paper:
| Paper type | Description |
|---|---|
| Semi Gloss | Intense colours and high contrast. Classic photo look with a subtle sheen. |
| Matte | Elegant, no light reflections. Ideal for portraits and artistic photography. |
| Silk | Delicate sheen, pleasant to the touch. Excellent colour saturation. |
| Pearl | Subtle shimmer with an iridescent effect. Sophisticated premium look. |
Tip: You don't need to offer all formats and papers. In the product pricing you configure only the combinations you want to make available to your clients.
Fulfilment through a photo lab
If you want orders to be fulfilled by a professional photo lab, you need to activate at least one of the available labs.
Available labs
Photonesto works with the following photo labs:
| Lab | Integration type | Description |
|---|---|---|
| nPhoto | Print directly from Photonesto | Printing handled directly by Photonesto, no nPhoto account required |
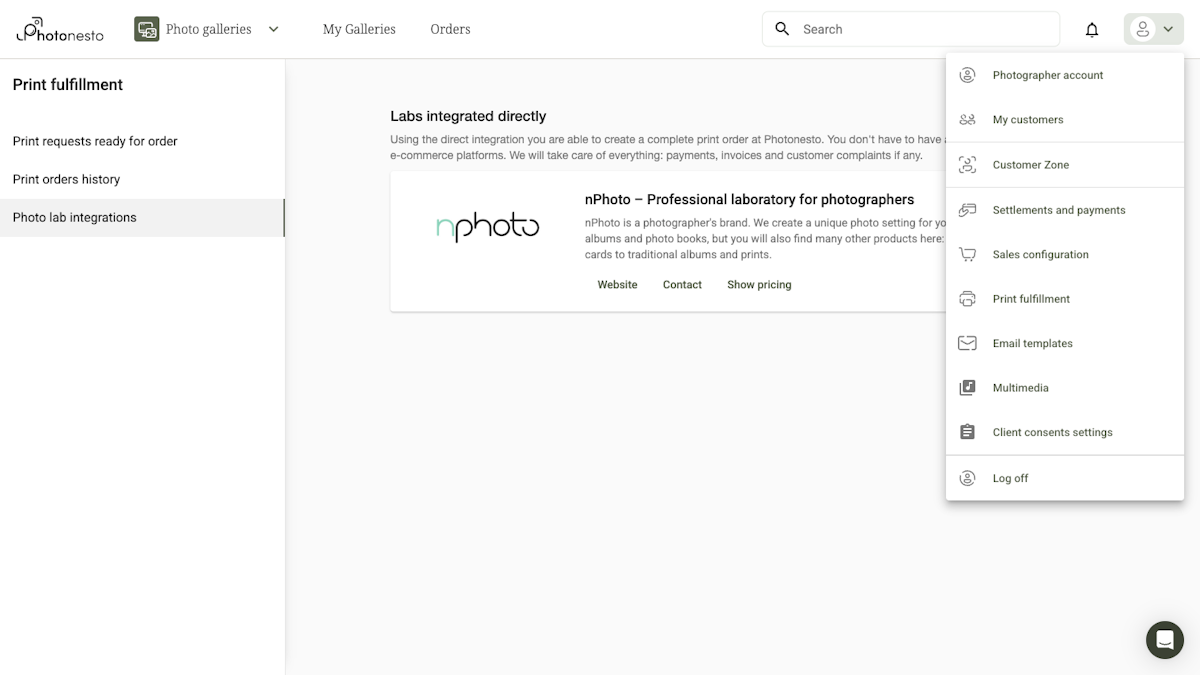
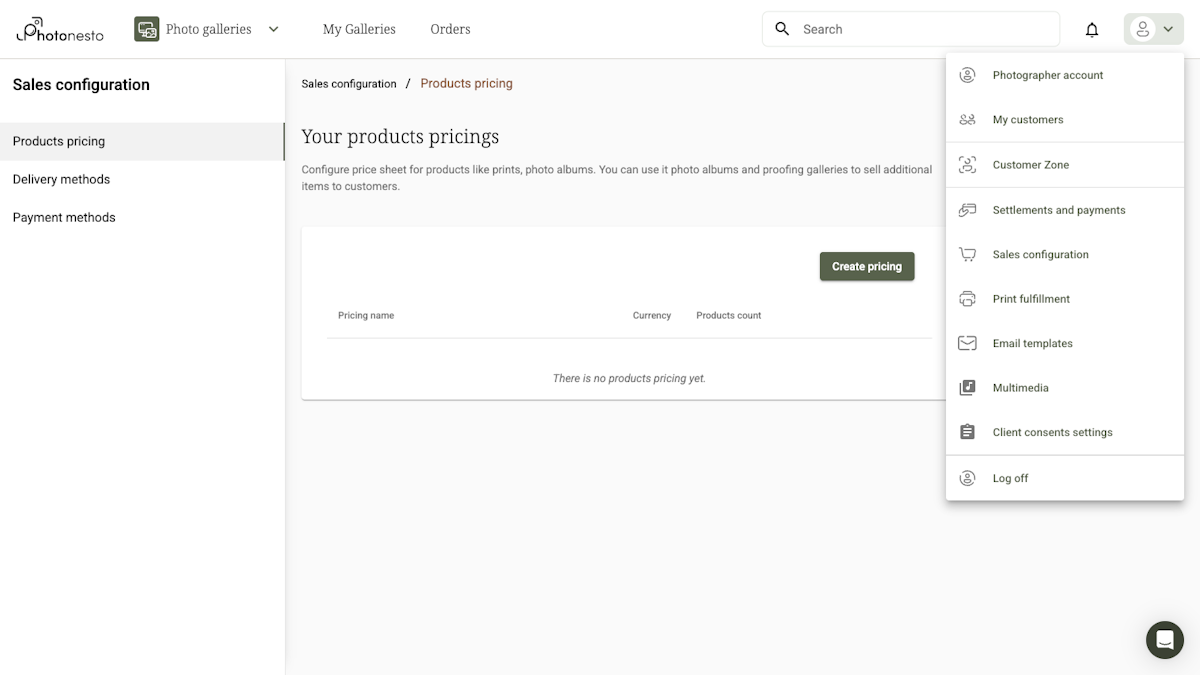
How to access lab settings
In the photographer panel, click the user menu (icon in the top-right corner), then select Print fulfillment → Photo lab integrations.
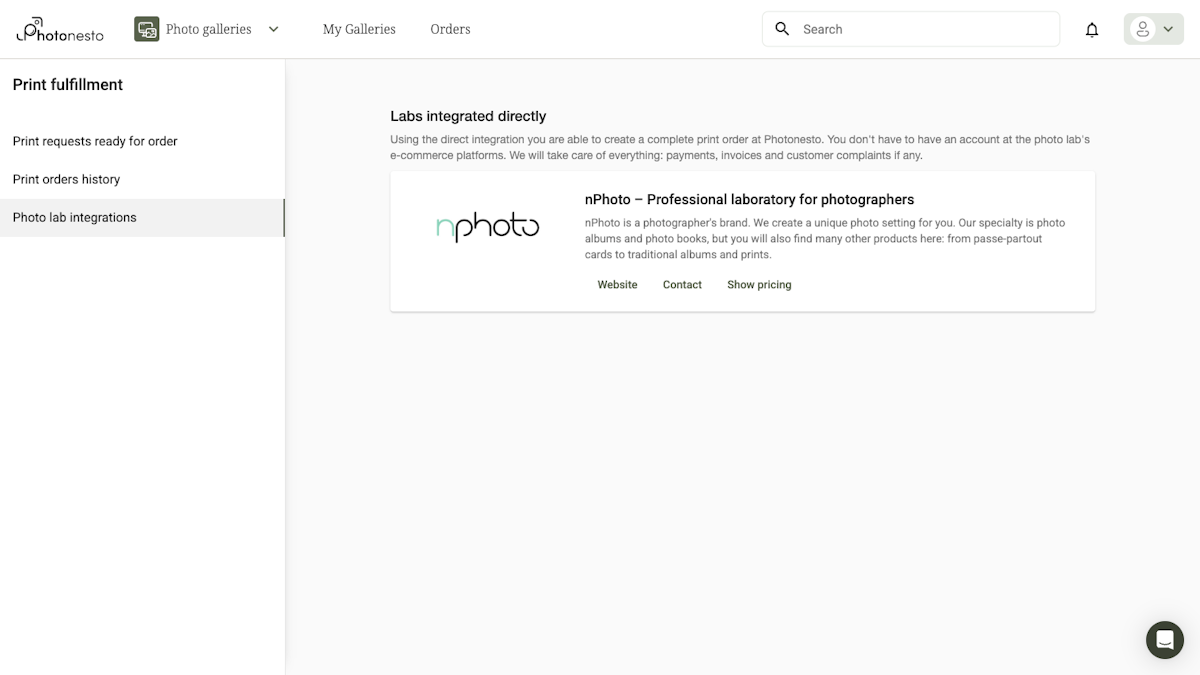
nPhoto
nPhoto does not require activation or a separate account - it is available straight away. On the lab integrations page you will find a View product pricing button that lets you check available products and prices.
Assigning a lab to products
Simply activating a lab is not enough - you also need to specify which products should be fulfilled by that lab. You do this in the product pricing (User menu → Sales configuration → Products pricing), in the Fulfillment column.
For each product in the pricing table you will find a dropdown where you choose who fulfils the print - e.g. nPhoto or Self fulfillment. Only after selecting a lab here will customer orders be routed to the appropriate lab.
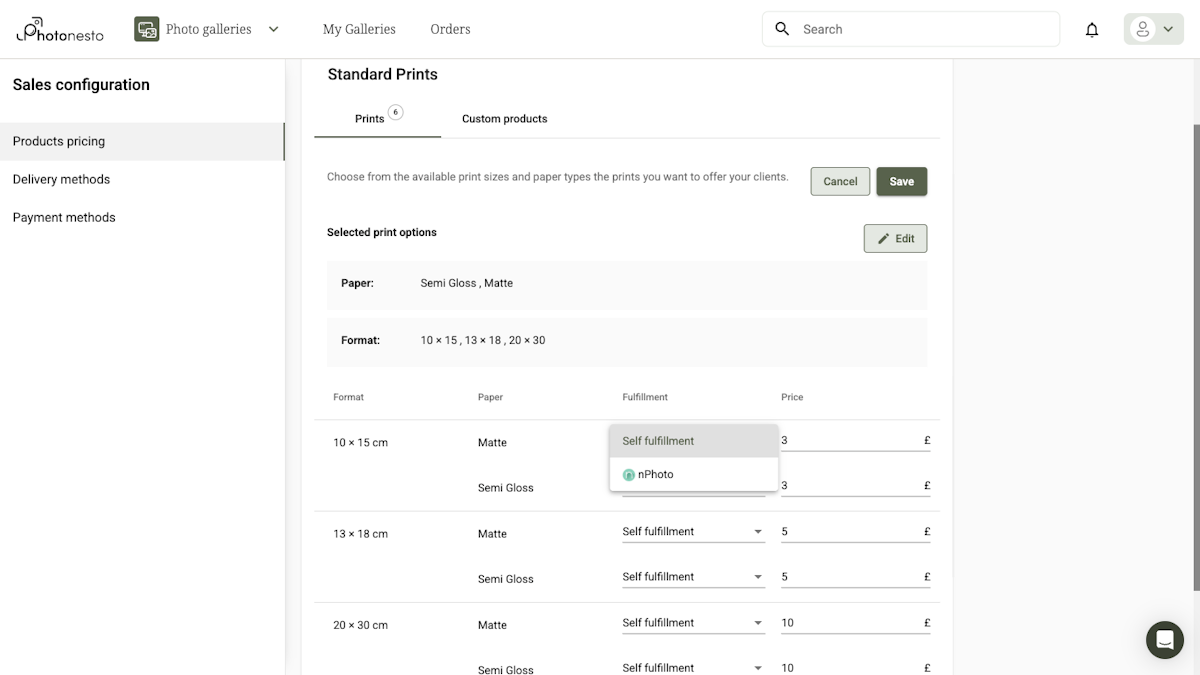
Tip: You can mix lab fulfilment and self fulfilment in the same pricing table - e.g. have small formats fulfilled by nPhoto and print larger formats yourself.
Self-fulfilling orders
If you prefer to print and ship prints yourself, you can use the Self fulfillment mode. This mode is ideal when:
You have your own photo printer
You work with a local print shop
You want to offer non-standard formats or finishes
You value personal contact and want to personalise packages
How to choose self fulfilment?
The fulfilment method is chosen per product in the pricing table. It does not require separate activation or an external account.
In the product pricing (User menu → Sales configuration → Products pricing) for each product you will find a Fulfillment dropdown where you can select "Self fulfillment" instead of a lab.
How does self fulfilment work?
In this mode Photonesto acts as an order collection and payment system:
The customer places an order - chooses photos, formats and pays online
You receive a notification - you see order details in your panel
You download the photos - in the appropriate resolution for printing
You fulfil the order yourself - print, pack, ship
You update the status - inform the system about fulfilment
Tip: With self fulfilment you can include a business card, thank-you note or small gift in the package - it's a great way to build relationships with your clients.
Pros and cons of both modes
| Aspect | Photo lab | Self fulfilment |
|---|---|---|
| Time | Automated fulfilment, minimal effort | Requires your time and involvement |
| Quality | Professional, consistent | Depends on your equipment and skills |
| Margin | Shared with the lab | All profit stays with you |
| Flexibility | Limited to the lab's offering | Full freedom of formats and finishes |
| Scalability | No order limit | Limited by your capacity |
| Personalisation | Standard packaging | Full personalisation of the package |
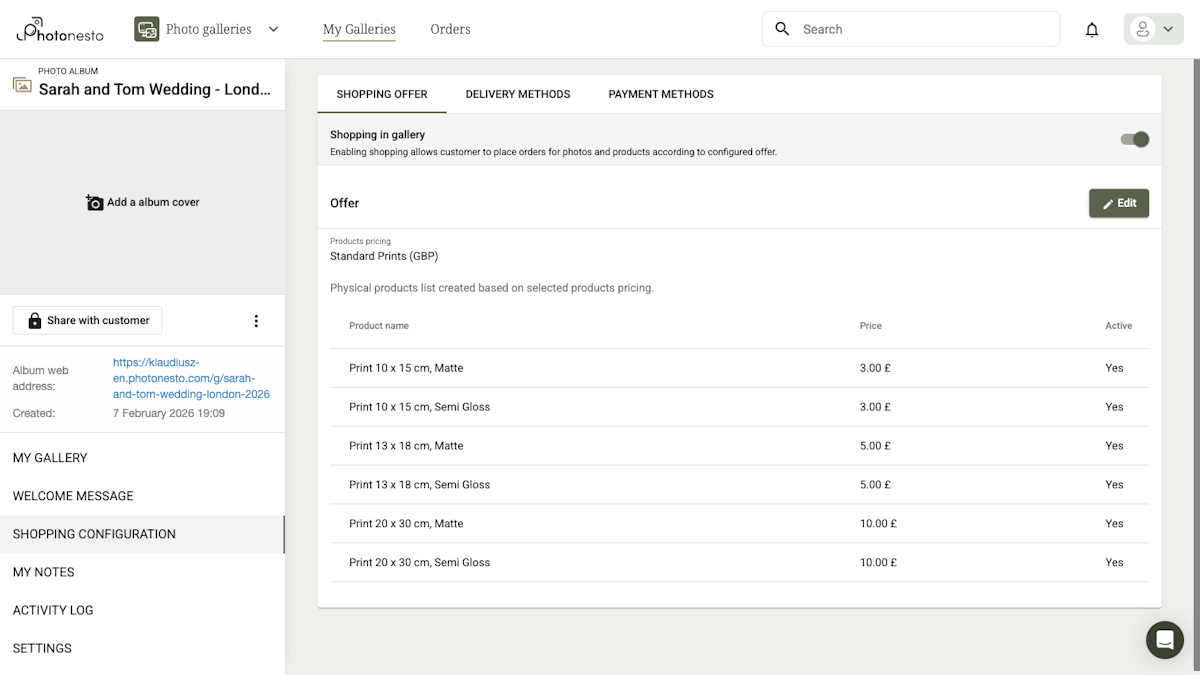
Print pricing configuration
For your clients to be able to order prints, you need to configure product pricing - i.e. decide which formats you offer, at what price and who fulfils them.
Step 1: Open products pricing
Click the user menu → Sales configuration → Products pricing.
Step 2: Configure products
You will see a table with all available products. For each product you can set:
Format - print size (e.g. 13×18 cm)
Paper - photo paper type
Fulfillment - who fulfils the print (lab or Self fulfillment)
Price - the final price for the customer
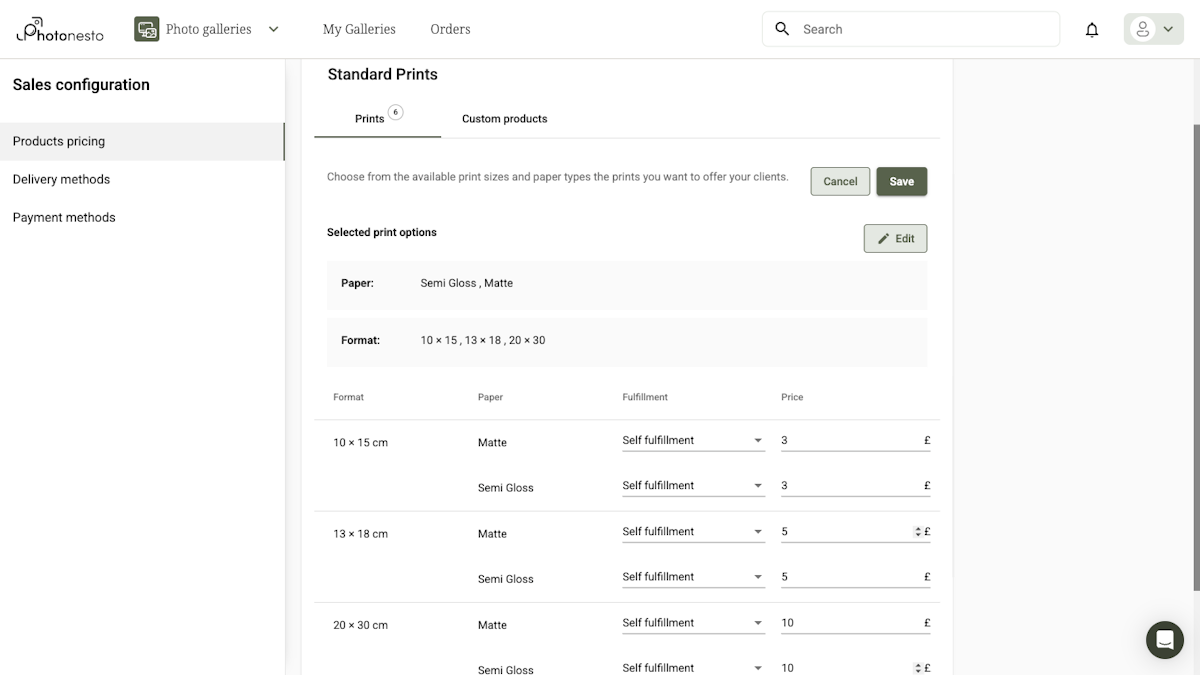
Tip: The pricing is independent from the chosen lab - you decide how much the customer pays for a print, regardless of the lab's production cost.
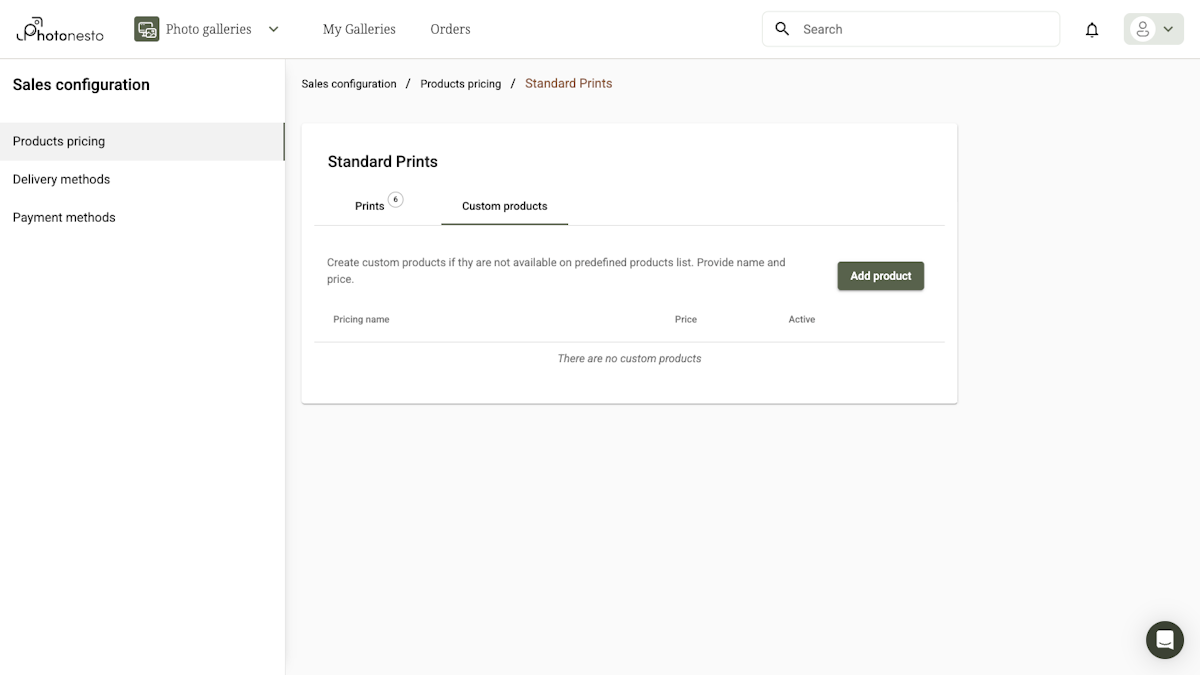
Custom products
In addition to standard prints, the Custom products tab lets you configure additional products such as photo albums or canvas prints.
Step 3: Save pricing
After configuring all products and prices, save the pricing table.
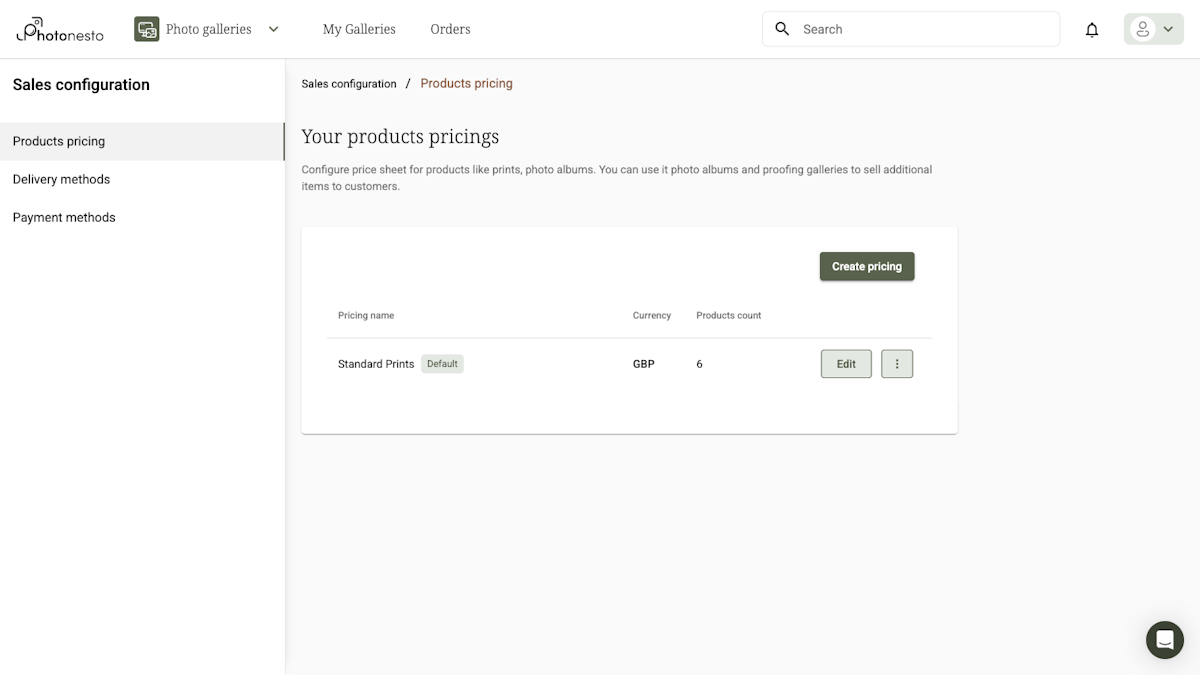
Products pricing list
Once saved, your pricing appears in the Products pricing list showing the pricing name, currency and number of products.
Fulfilling a customer order
For clients to be able to place orders, shopping must be enabled in the gallery settings. Only after enabling shopping will clients see the option to order prints.
Step 1: Check new orders
When a customer places an order, you will see it in the Orders section of the photographer panel. At the top of the page you will find a summary with three tiles:
Payment confirmation by the photographer - orders awaiting your payment confirmation
Print fulfillment - orders ready to be sent to the lab
Digital delivery - orders for digital files

Step 2: Review order details
Click the order number to see its details. On the order page you will find:
Order status and a button to change it
Number of photos in the order
Order value with payment status (Not paid/Paid)
Customer details - name, email, phone
Order summary - value, amount paid
Order history - chronological events
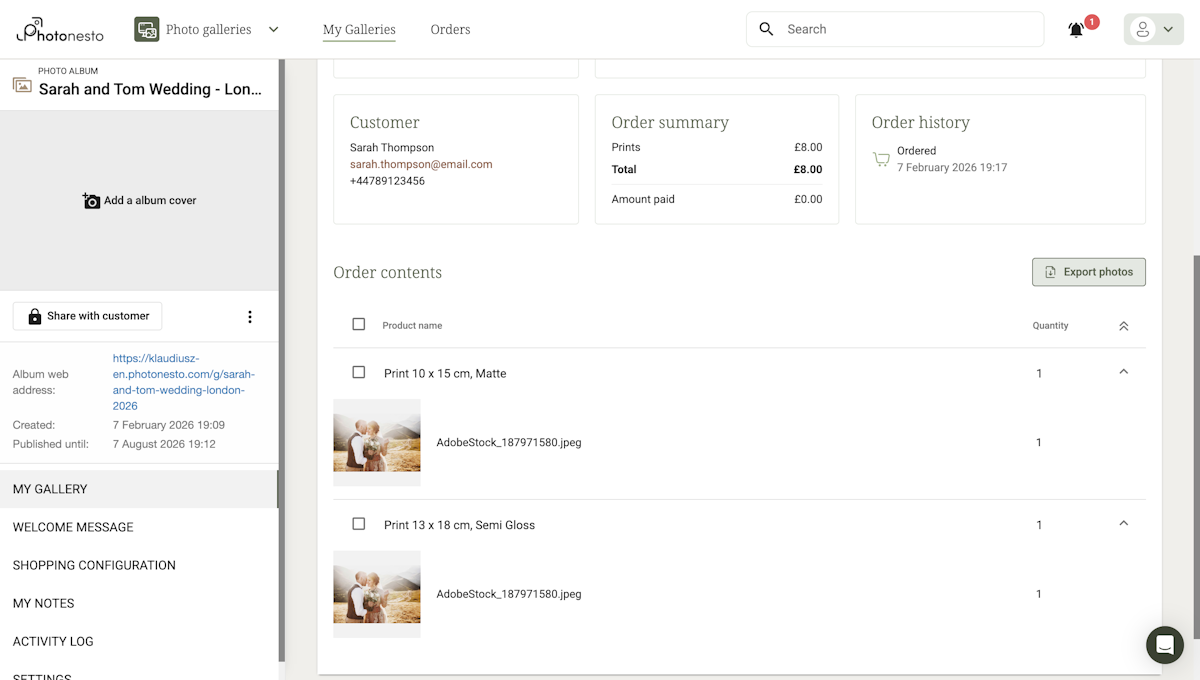
Order contents - list of products with photo thumbnails
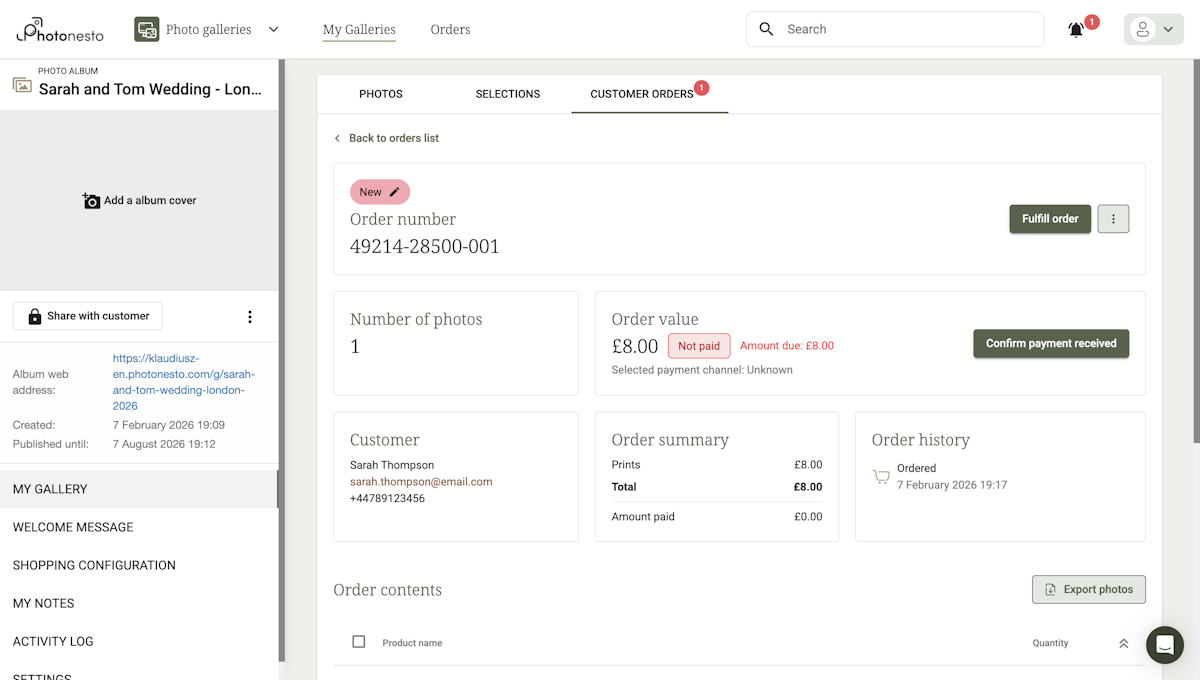
Step 3: Confirm payment
A new order has the status Not paid. Click the Confirm payment received button to mark the order as paid. A dialog will appear where you can confirm the payment amount.
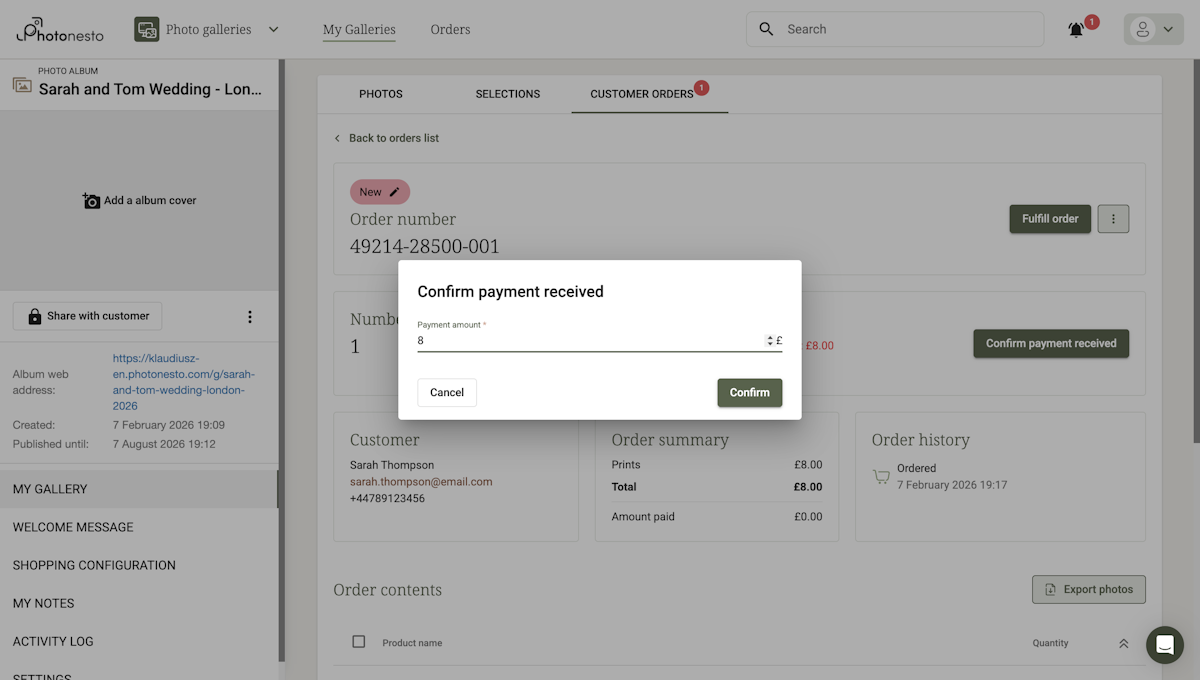
After confirming the payment, the status will change to Paid.
Step 4: Fulfil the order
Click the Fulfill order button. A menu will appear with options:
Create a lab order - send the order to a photo lab
Design an album - if the order contains an album
Tip: With self fulfilment the system will skip creating a lab order - simply update the order status once you have printed and shipped the prints.
Monitoring orders
Photonesto lets you track the status of all orders in one place.
Orders list
Go to the Orders section in the photographer panel. At the top you will see tiles with the number of orders requiring your attention. Below you will find a table with all orders, which you can filter by status, payment status and actions.
Order statuses
Each order goes through the following stages:
| Status | Description | What to do? |
|---|---|---|
| New | The customer has placed an order | Confirm payment, then fulfil the order |
| In progress | The order is being processed | Wait for fulfilment |
| Ready for delivery | The order has been fulfilled, awaiting shipment | Ship to the customer |
| Completed | The order has been delivered to the customer | Done |
Print statuses
Independently from the order status, printing goes through its own stages:
| Print status | Description |
|---|---|
| Paid | Order paid by the customer, waiting to be sent for printing |
| Sent to print | The order has been sent to the lab |
| Ready | Printing completed by the lab |
Tip: The system automatically sends emails to customers when the order status changes.
Order details
Click the order number to see full details:
Order status and payment status
Customer details (name, email, phone)
Product list with photo thumbnails
Financial summary (value, amount paid)
Order history (chronological events)
What your client sees
Let's see how the print ordering process looks from your client's perspective.
Important: For clients to see print ordering options, you must first enable shopping in the gallery settings. Without this the ordering buttons will not be visible.
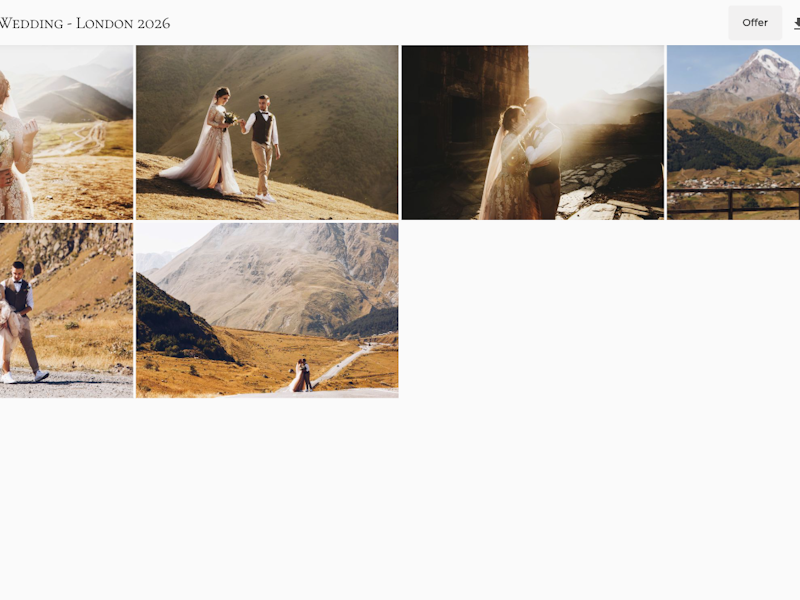
1. Browsing the gallery
The client visits your gallery and browses the photos.
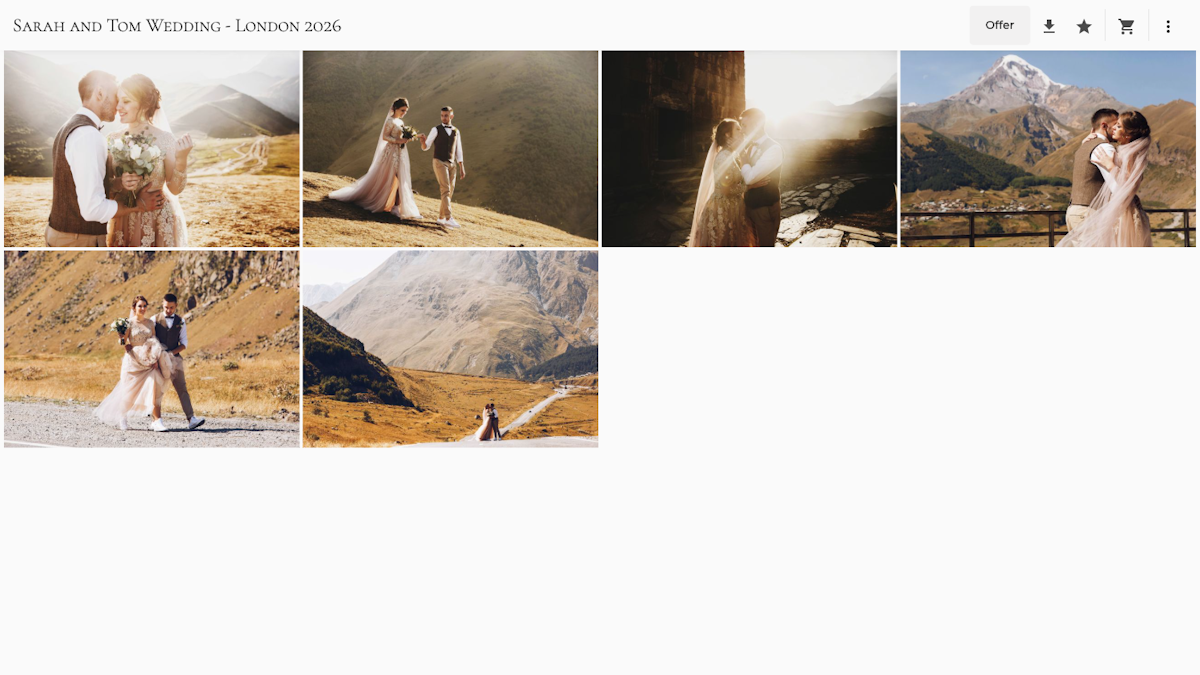
2. Choosing a photo to order
When the client finds a photo they like, they click the Offer button.
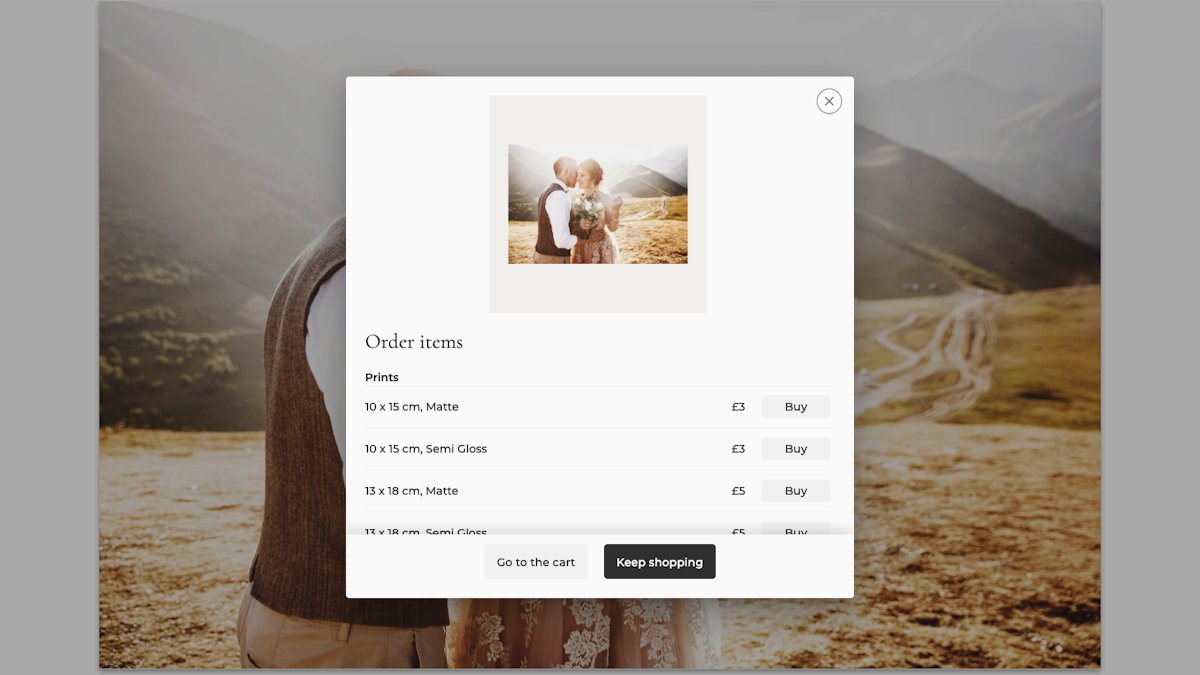
3. Choosing a product
An Order items modal appears, showing a list of available products with prices. Products are divided into categories:
Prints - formats with paper type (e.g. "10 x 15 cm, Semi Gloss - £3")
Products - custom products (e.g. albums, canvas prints)
The client clicks Buy next to the chosen product, and can then adjust the number of copies with +/− buttons.
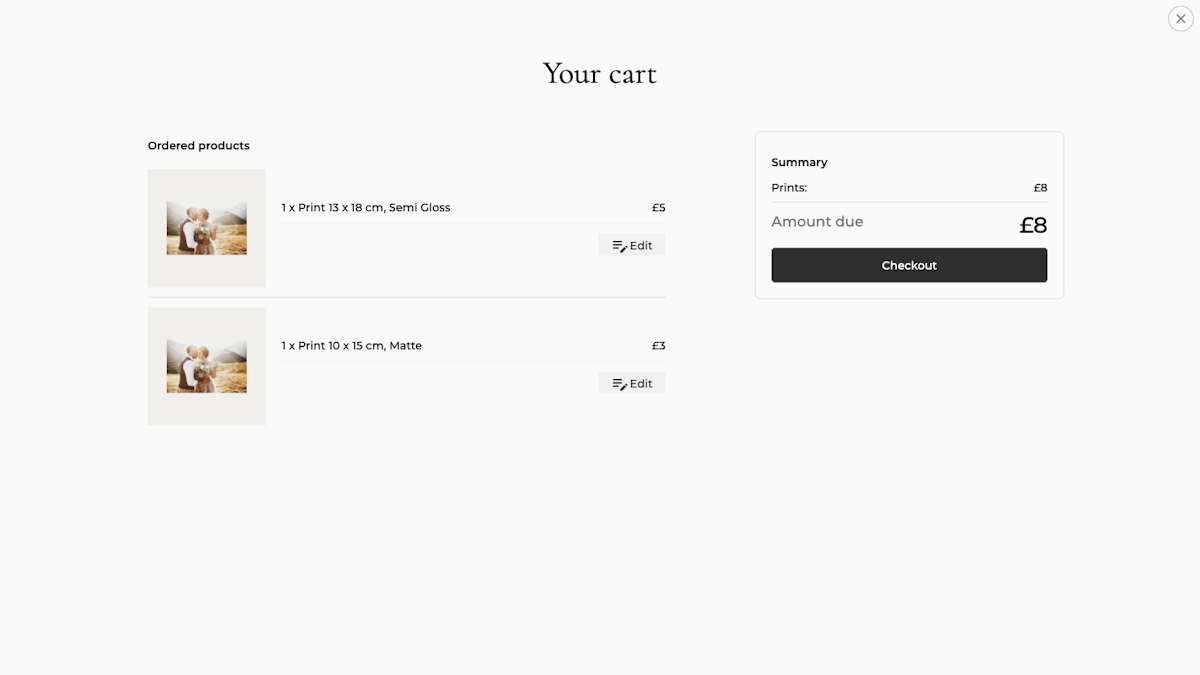
4. Cart
The client can add products from multiple photos. In the cart they see a summary: list of ordered products with photo thumbnails, prices and the total amount.
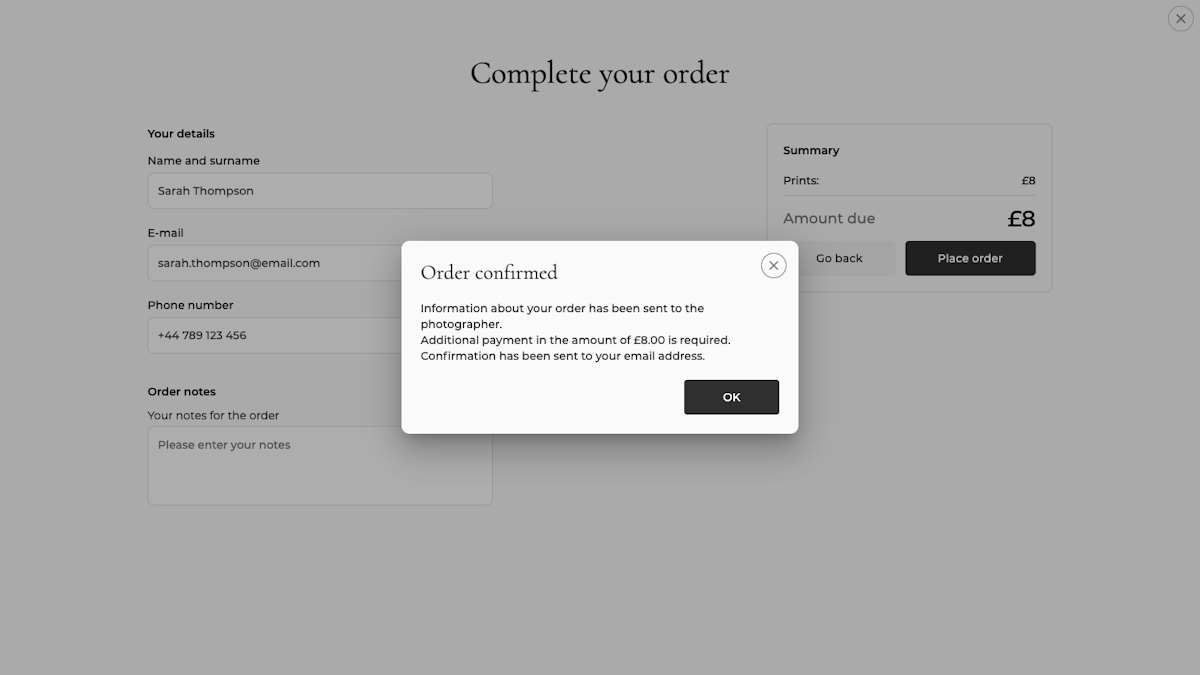
5. Contact details and placing the order
After clicking Checkout the client enters their contact details:
Name and surname
Email address
Phone number
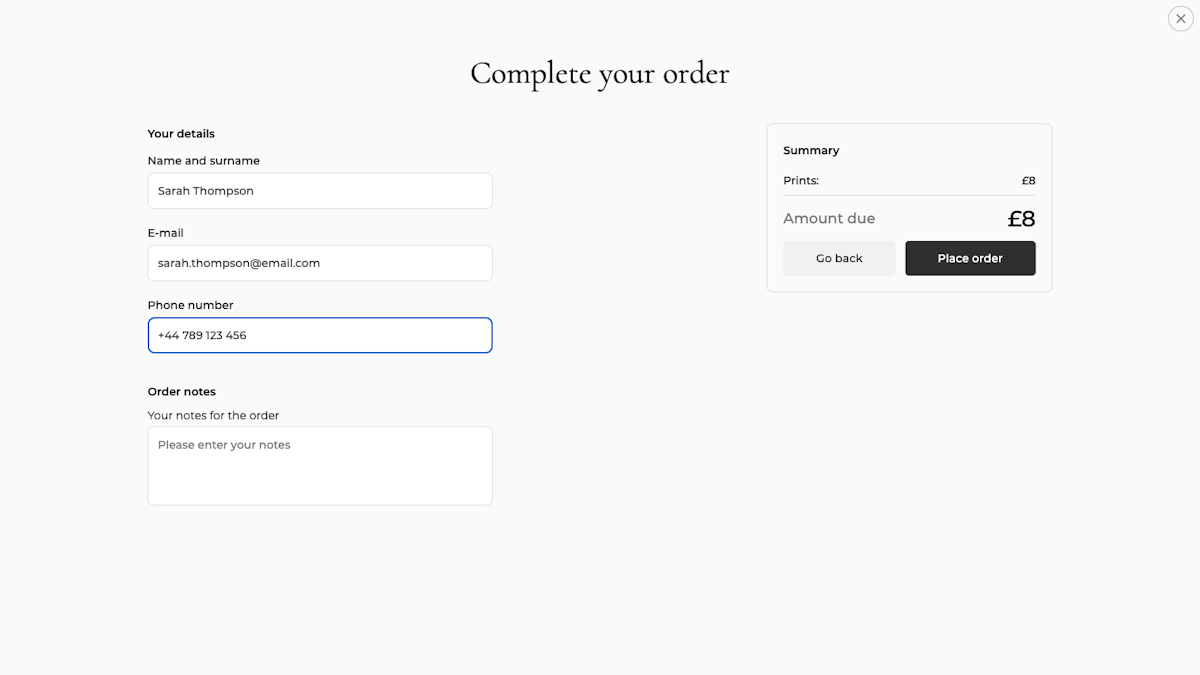
After clicking Place order a confirmation appears with information about the required payment.
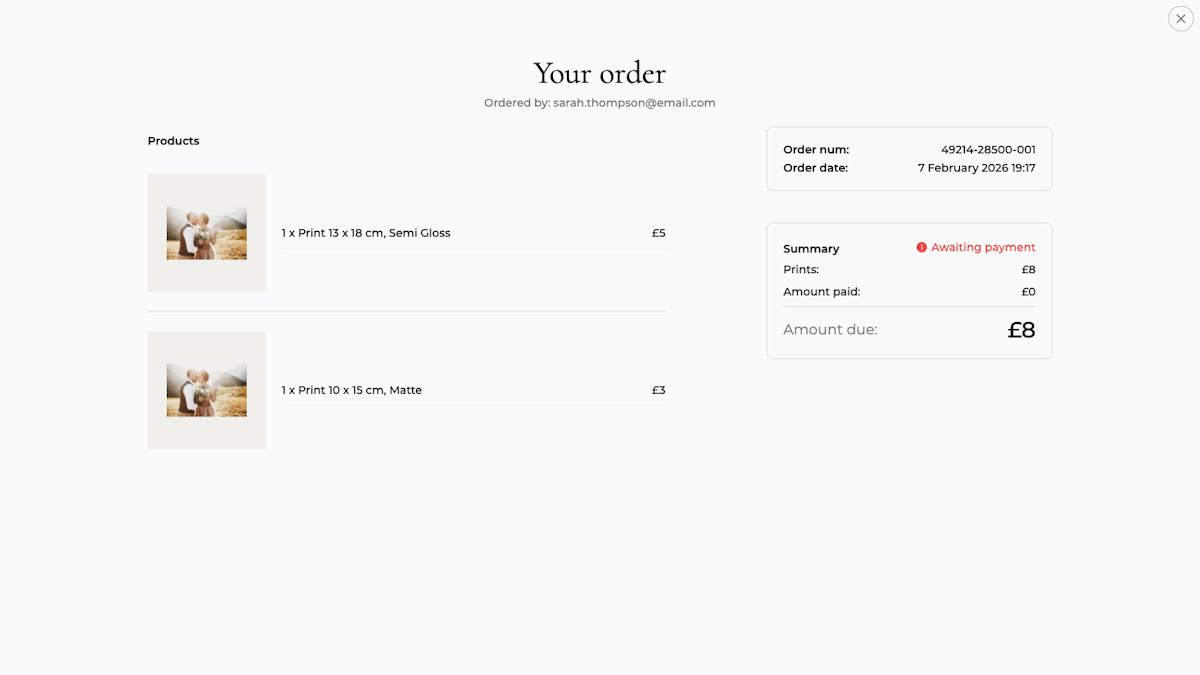
6. Order overview
The client sees a page with their order details: order number, date, ordered products, amount due and payment status.
Summary
Selling prints in Photonesto is a simple way to earn additional income from your photos. You have two fulfilment modes to choose from:
Fulfilment through a photo lab
Activate a lab - choose nPhoto (available straight away)
Set prices - configure product pricing independently from lab prices
Enable shopping in the gallery - so clients can place orders
Save time - minimal effort on your part
Self fulfilment
Full control - you print and ship the prints yourself
Higher margins - all the profit stays with you
Flexibility - offer non-standard formats and finishes
Personalisation - include your own materials in the package
Pro tip: Start with one mode and a simple pricing table. Once you gain experience, you can combine both approaches - you choose the fulfilment method separately for each product in the pricing table.
Want to start selling prints in your galleries? Create a free Photonesto account and set up your shop.